Adobe Photoshop

Learn how to create a weather icon using photoshop.

Weather Icon:
In this tutorial I will teach you how to create a weather icon.

Download this shape set. Click weathericon

Open up photoshop and make a document 900 by 900px.
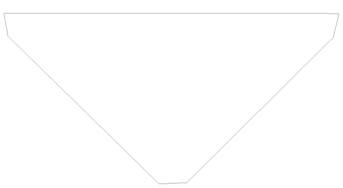
Select the pen tool and draw the shape of a sun icon or just download the sun picture I have on the webpage.

Fill the background of your work space with white #ffffff by selecting the paint bucket tool 

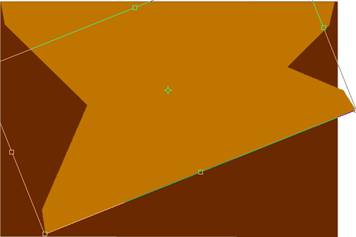
The image should look similar to the image I have below.

When you are finished drawing the sun icon it should look similar to the picture below. Feel free to use the picture below as a reference.

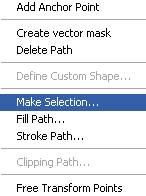
After you made the sun right click the mouse on the shape and fill the shape with #dd7314.

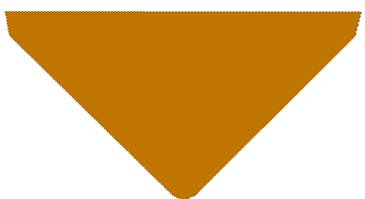
The outer part of the sun should look similar to the image below.

Now we’ll add a gradient to the image. You can do this by right clicking on the layer tab and going to blending options.

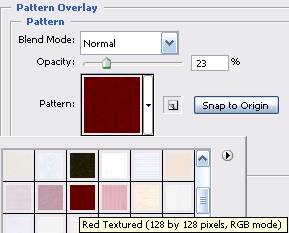
Now select gradient overlay from the layer styles.  Apply a gradient of #492b11 on the left and #dd7314 on the right.  Please use the image below as a reference of how to set the gradient.

Make another layer and select the ellipse tool , draw a circle that is a little smaller than the image on the first layer. Make sure that the color you selected is #dd7314.

The Image you created should look similar to the one below; again use the images as a reference.

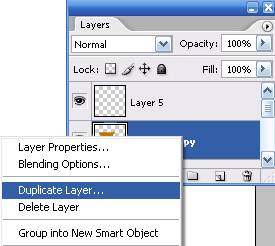
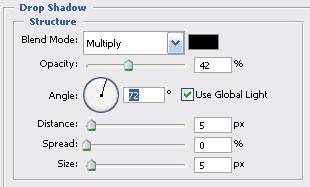
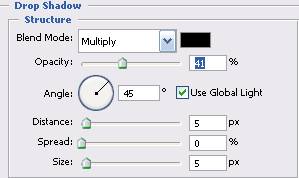
Now press ctrl&j to duplicate the orb layer. Click on the duplicated layer and go to blending options, add an inner show. Use the picture as a reference.

Press ctrl&e to merge the duplicated layer and the original orb layer.

Now select the brush tool , make sure the color you selected is # dd7314.

Apply these brush settings to the brush.

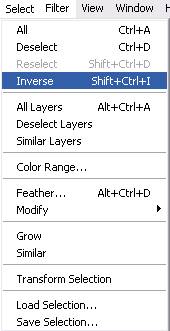
Now ctrl click on the orb layer to select it and brush the lower part of the sun.

Make another layer, on this layer we will add clouds to the sun to finish up the icon.

You can use the pen tool to make the clouds or you can just download the image from my webpage.

Fill the selection with #71bcfe by using the paint bucket tool.

Ctrl click on the layer with the cloud to select it, we will add a gradient to the cloud.

Click on the paint bucket tool but hold down the mouse to find the gradient tool.

Select the gradient tool and apply a gradient similar to the picture below. If you don’t know how to change the gradient, just click on the white to transparent gradient tab and you will be able to change it.

Press ctrl&J to duplicate the layer with the clouds and go to filter and apply a Gaussian blur of 3.9.

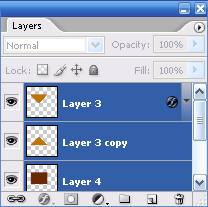
Highlight both layers (the copy of the cloud and the original cloud), press and hold select while clicking on the layers to do so. Then press ctrl and E to merge both layers. The layers should look like the image below when both of them are selected.

When you press ctrl&E it will combine or merge the layers in to on image.

The sun icon should look like the image below.

We will add a little more detail to the cloud. Ctrl click on the cloud layer again and select the ellipse tool , pick white as the color. Make another layer above the cloud layer and drag out an ellipse. Use the picture as a reference.

Now change the layer opacity with the white ellipse that you made to 36%.

Now move the white ellipse tool down a little and use the erase tool   to erase the bottom of the image.

Now merge the white ellipse and the cloud layer together by pressing ctrl&e.

After you merge the layers duplicate the cloud layer one more time to have two clouds on the work space.

It should look like this when you are finish.

Now we are going to use the free transform tool to resize the image to icon size.  Merge all the layers except the back ground together then select the free transform tool . Make sure that you select the chain link to maintain the aspect ratio of the image.

After you get it to icon size duplicate the layer and apply a Gaussian blur of 2.4 to the original image.  Set the copy layer to hard light. To get the final result.

Finished:

Related Articles

Back to top button
Share via
Copy link
Powered by Social Snap