Adobe Photoshop
Ripped Image Effect
![Ripped Poster](https://pixeldigest.com/wp-content/uploads/2021/08/rippedpaper-780x470.png)
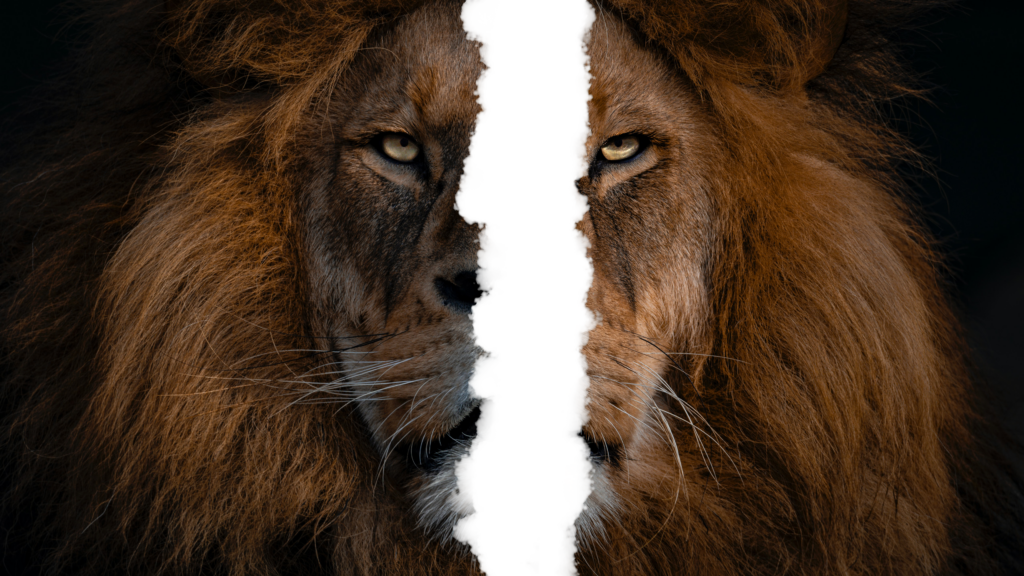
Load the image below into photoshop.
![](https://pixeldigest.com/wp-content/uploads/2021/08/image1-1-1024x576.jpg)
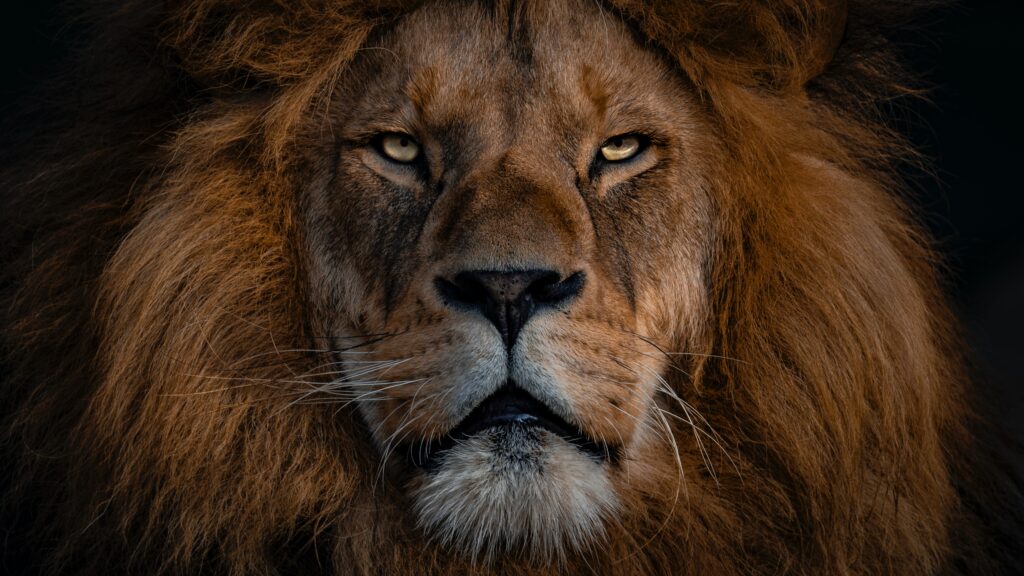
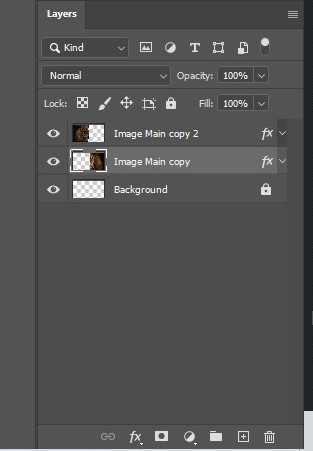
Duplicate the layer to replicate the example below.
![](https://pixeldigest.com/wp-content/uploads/2021/08/TqJNUU7X9D.jpg)
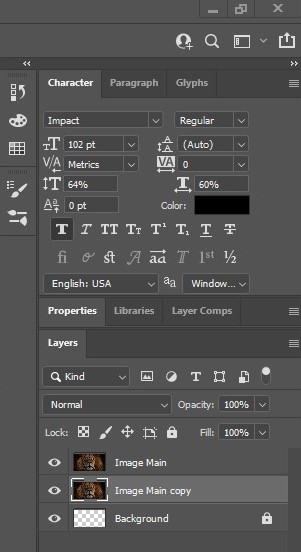
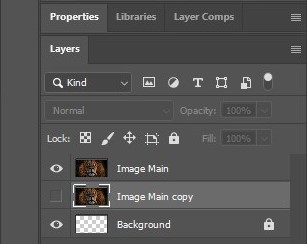
With the layer duplicated, hide the “Image Main Copy” layer by clicking on the eye icon next to the layer.
![Hiding Layer](https://pixeldigest.com/wp-content/uploads/2021/08/UqS4VJZLcJ.jpg)
Open the Brush setting by clicking on the menu Window > Brush Setting.
![](https://pixeldigest.com/wp-content/uploads/2021/08/settingb.jpg)
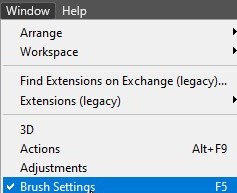
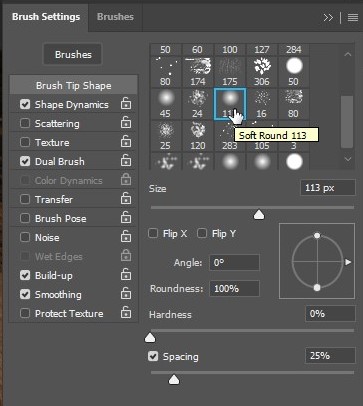
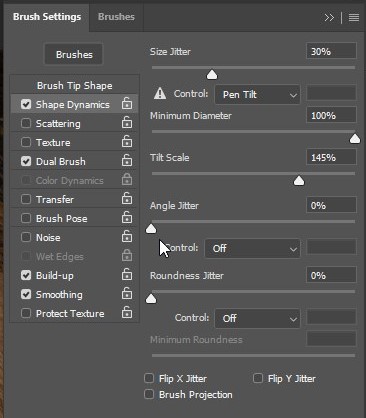
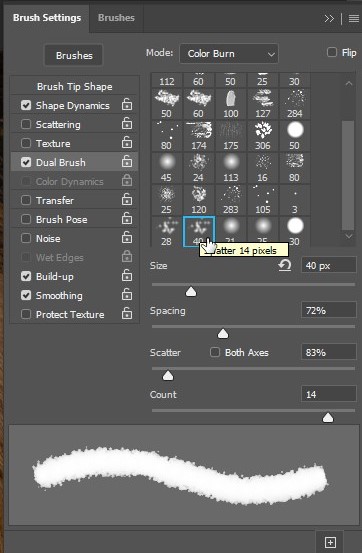
The window below will open after selecting the setting option.
![Brush Setting Soft Round 113](https://pixeldigest.com/wp-content/uploads/2021/08/brushsetting.jpg)
![Brush Setting Shape Dynamics](https://pixeldigest.com/wp-content/uploads/2021/08/OKg5TH3FeQ.jpg)
![Brush Setting Dual Brush](https://pixeldigest.com/wp-content/uploads/2021/08/b29ULh6QuQ.jpg)
Using the newly created brush, click on the eraser tool.
![Erase Tool](https://pixeldigest.com/wp-content/uploads/2021/08/erase.jpg)
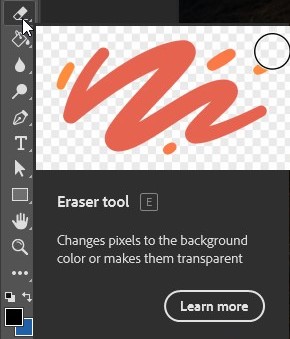
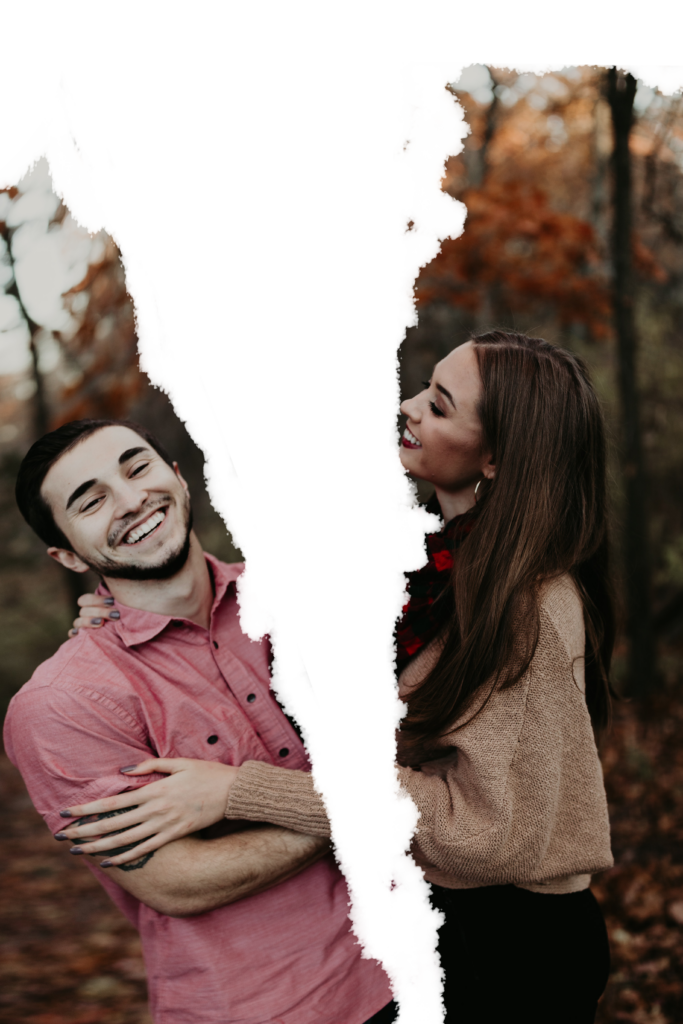
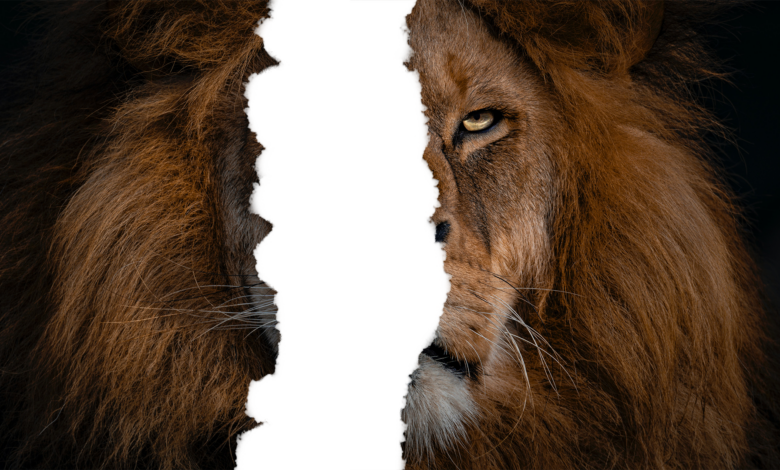
Erase the middle portion of your image to replicate the image below.
![Double Image](https://pixeldigest.com/wp-content/uploads/2021/08/I2Eu7UlGij-1024x584.jpg)
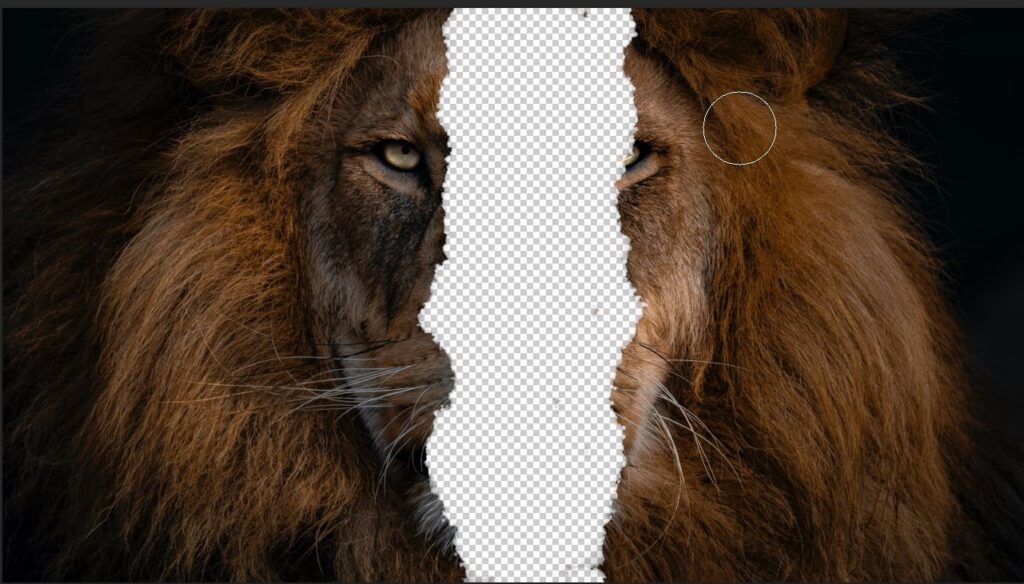
On the two layers create two individual half’s of the image.
![Layers](https://pixeldigest.com/wp-content/uploads/2021/08/ohl3q3r7sc.jpg)
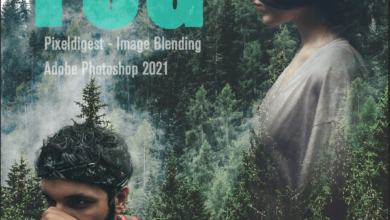
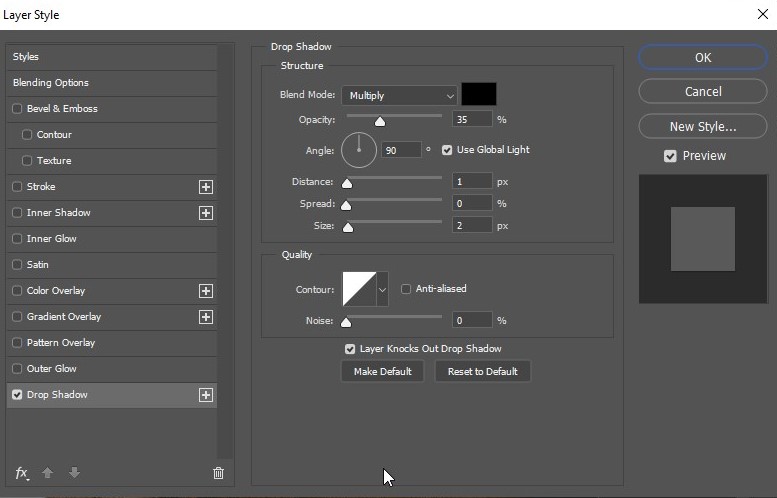
Apply the Blending Option below.
![Drop Shadow](https://pixeldigest.com/wp-content/uploads/2021/08/jxVp2Td2ga.jpg)
Below is the final result.
![](https://pixeldigest.com/wp-content/uploads/2021/08/rippedimage-1-1024x576.png)
![](https://pixeldigest.com/wp-content/uploads/2021/08/example-683x1024.png)