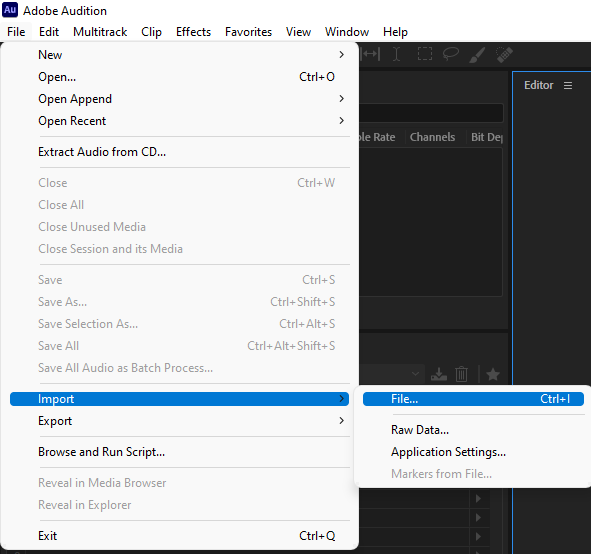
STEP 1: Importing The File.
Open Adobe Audition and import your music Clip. To import a music file simply click on the file and drag it into Audition. Or click File>Import>File. The file explorer will open, allowing you to select the desired audio clip.
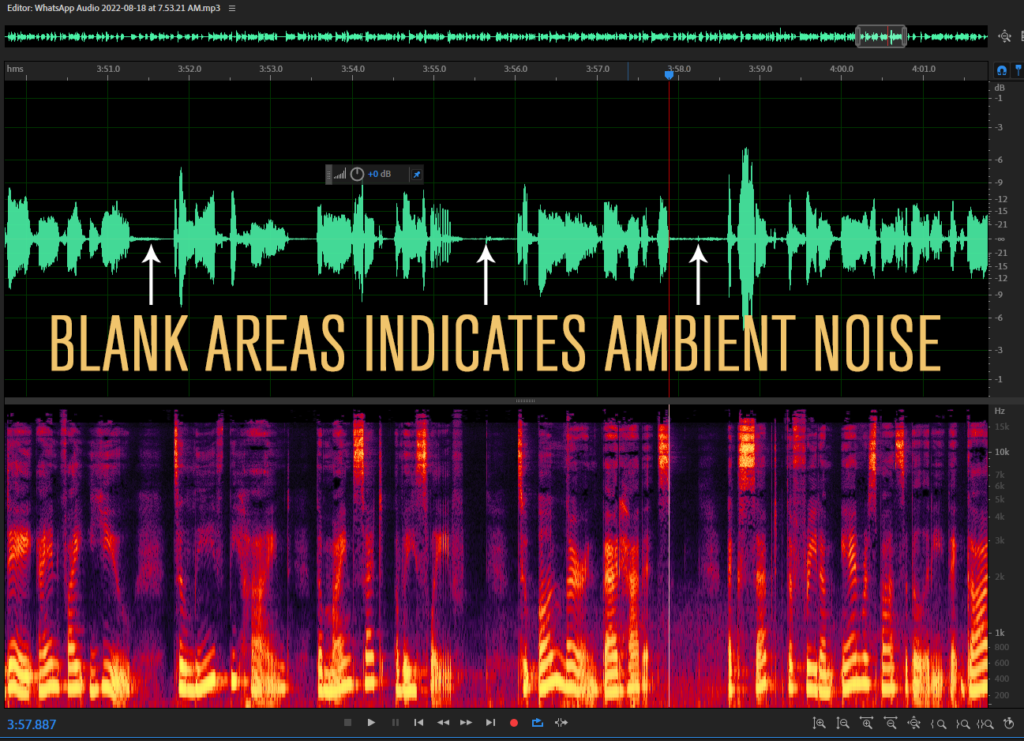
STEP 2: Working with Waveform.
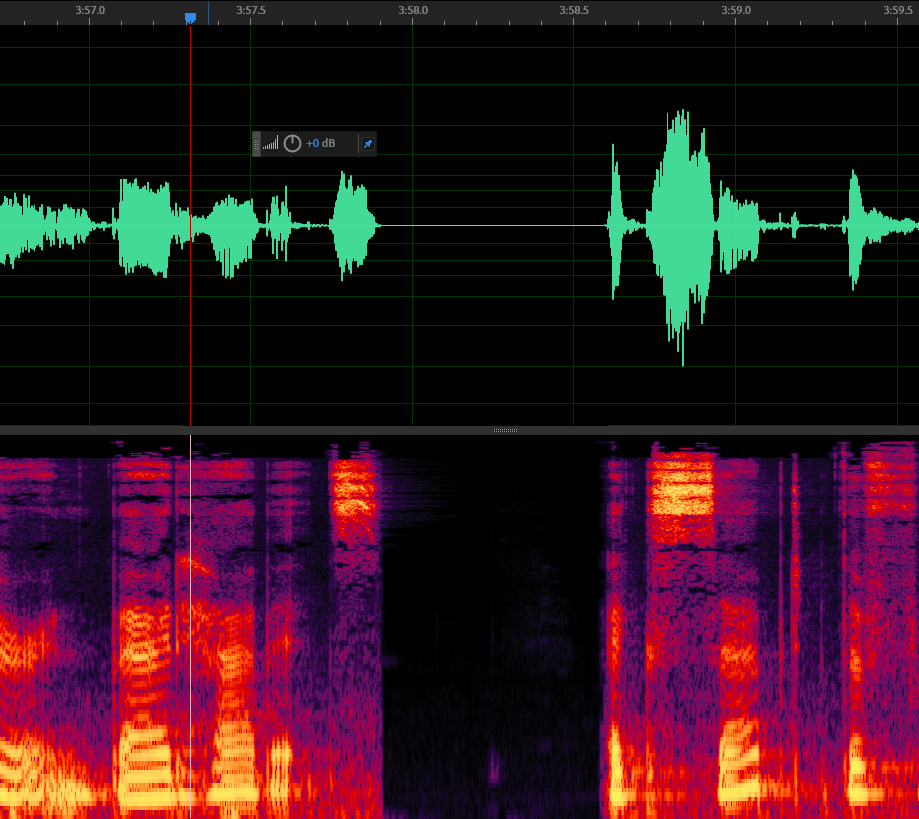
Once the file is imported, you will see the Audio file depicted as a waveform. Zoom into the waveform looking for a point in the audio where no one is speaking.
Zoom into a desirable area and using the mouse, Click, Hold, and drag to select an area. NOTE: To apply this effect to the full track press CTRL+A to select the full audio track.
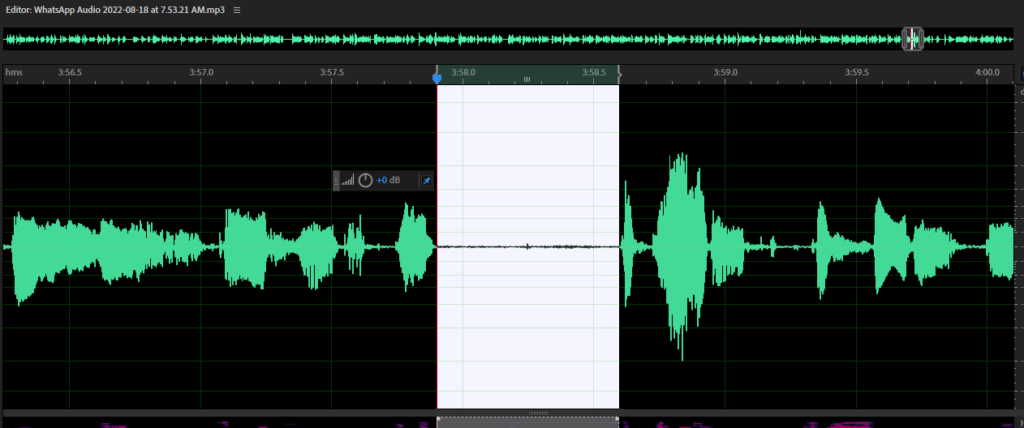
Once the area is selected, press SHIFT+P
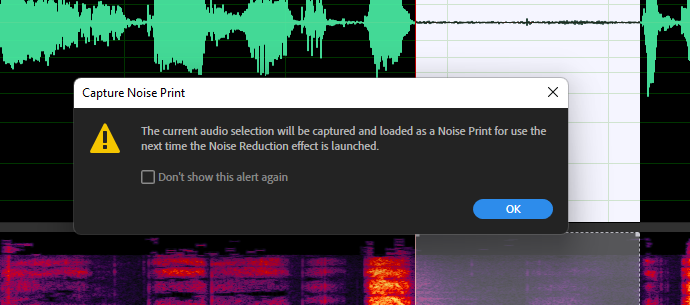
Click ok to capture the Noise Print. This feature is taking a sample of the noise pattern and attempts to filter out any noise in the selected area that matches the captured pattern.
STEP 3: Applying the captured Noise Print.
After clicking OK. Press CTRL+SHIFT+P to open the Effect window below.
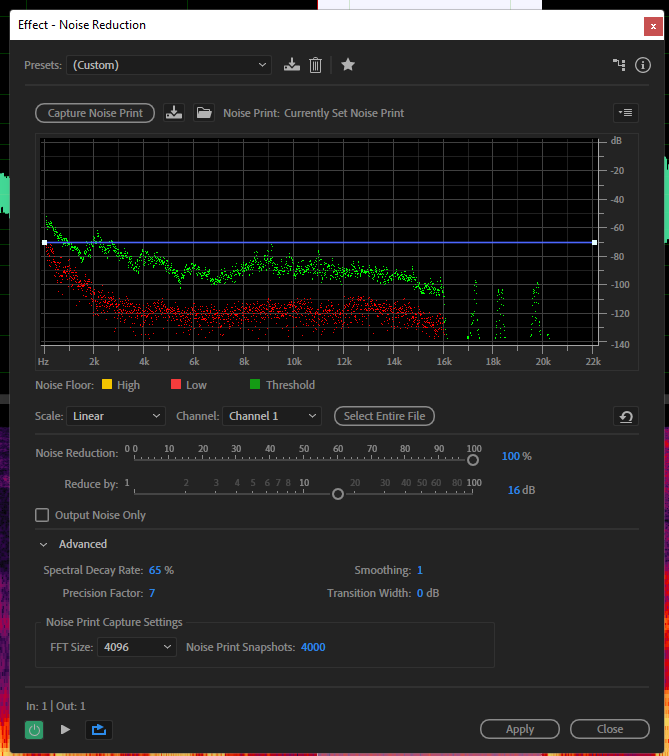
This is my default setting. I usually leave it as shown above. Click Apply
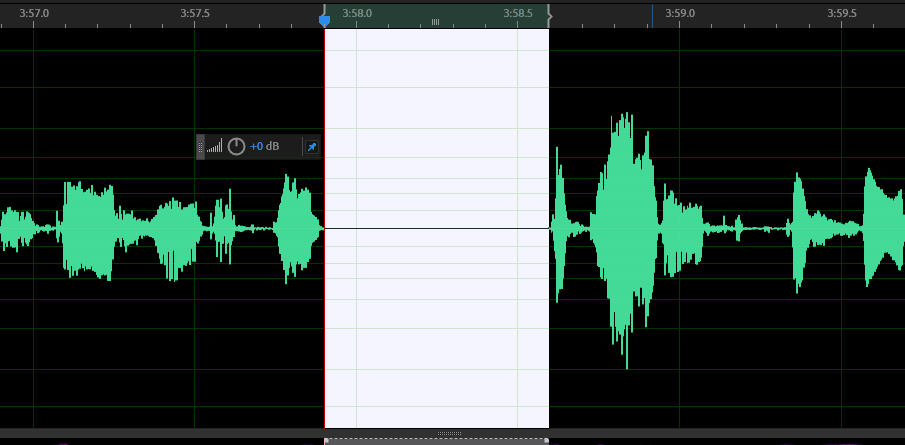
With the setting Applied, you will notice the wave previously selected now is as depicted above. The smooth line indicates that the noise previously selected was removed.
Finished: