Adobe Premiere
Change an image opacity in Adobe Premiere pro
Using adobe premiere pro to adjust the opacity of an image allows the user to create a watermark or fade an image out of a scene.
Using adobe premiere pro to adjust the opacity of an image allows the user to create a watermark or fade an image out of a scene.
Importing the video and image file:

Using Windows Explorer, browse to the selected files and drag them into the project window as depicted above.
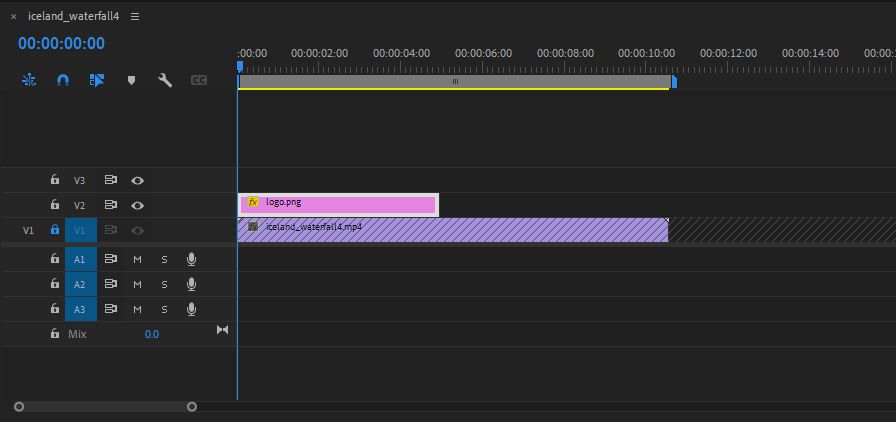
Timeline:
Drag the video file and image file into the timeline.
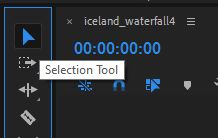
Positing the text to the desired location using the Selection tool
Change Opacity:
Select, File> Window and select Effect Controls
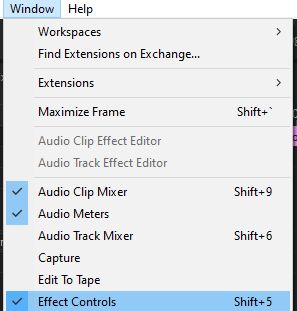
With the Image Layer selected, the effect panel below becomes accessible.
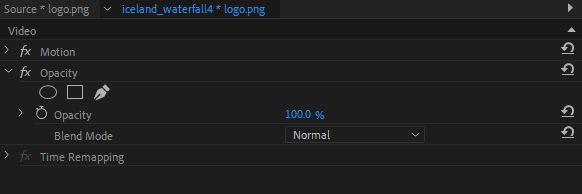
Change the Opacity setting to your preference.
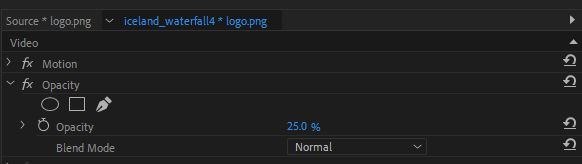
Final Result:
