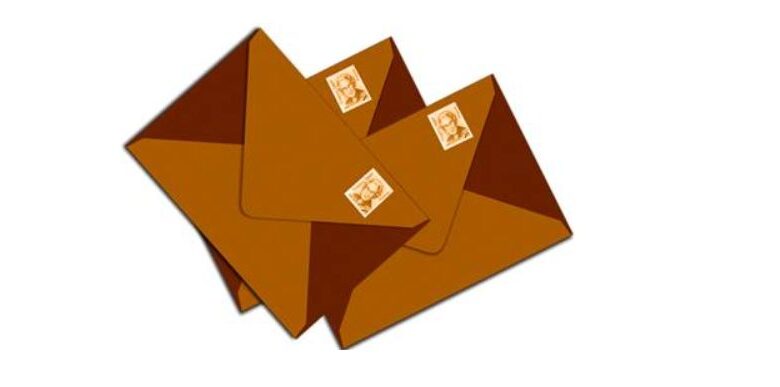
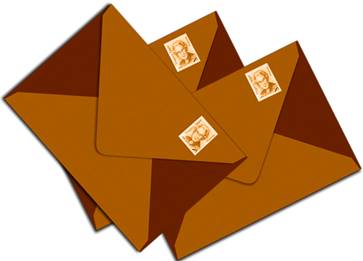
Envelope – In this tutorial, I will teach you how to create a envelope using Photoshop.
Open up Photoshop and make a new document 500px by 500px.
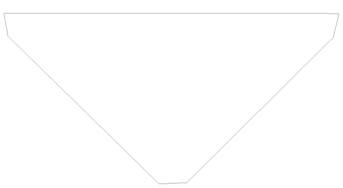
Select the pen tool and make a shape similar to the picture below.
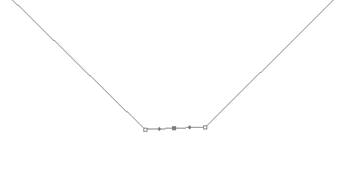
Select the anchor point tool and add a point the bottom of the image above.
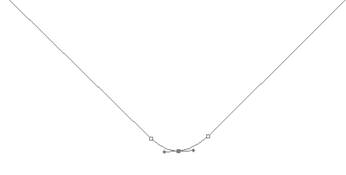
Now pull the anchor point down while holding shift to give the flat surface a curved shape.
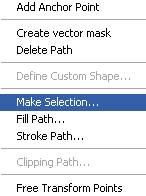
Right click on the line and select “make selection”.
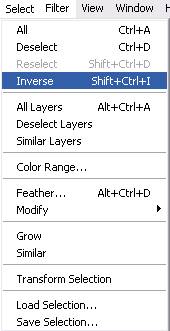
With the path selected go to “select” and select inverse.
Now select the paint bucket tool and dump #bf7500 as your color.

Select the pen tool once again and make a square.

Now we make the bottom flap of the envelope.
Right click on the layer with the first flap and duplicate it.

Use the free transform tool on the new layer and rotate it around to make the bottom flap of the envelope.
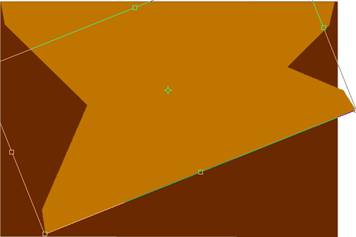
Now move it down to the right position so it looks like the pic below.

Make sure that the 1st flap is on the top layer so when we add the shadow it creates the illusion of the paper overlapping.
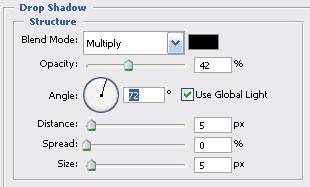
Right click on the 1st flap layer and go to blending options to add the shadow. Apply these settings to the drop shadow.
Select all the layers by clicking on the top layer while holding shift then click on the first layer. It should look like the pic at the bottom.
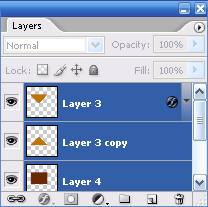
Now press ctrl&E to merge the three layers.
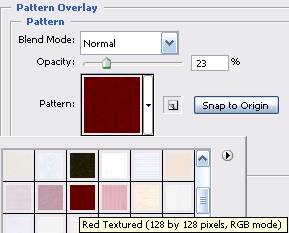
We want the paper to look a little more real so we will add some texture to it.
Right click on the layer and go to blending options once more but this time select pattern overlay. Use the settings below to apply the pattern
Now add a drop shadow to the envelope.

You are finished.

