Create a reflective 404 error icon.

Error Icon:
In this tutorial you will learn how to create a 404 error icon.

Part one:
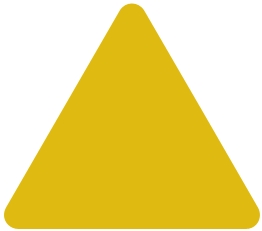
Open photoshop set up my workspace at 800 by 600. I used the same background color as my web page; you can use any color you want. Create a new layer, Click on the custom shape tool and select the Rounded Rectangle . Select dfbb11 as the color, hold shift and drag out the shape. With that you should have the image below.

Use the Chop Tool to flip the rounded triangle in the right orientation. To get the effect below.
Now right click on the layer and click Blending Options, and add the settings shown below.
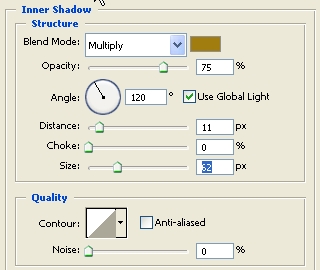
Click ok to add the settings, when you are finished.
Hold ctrl and click on the layer to select it as shown below.
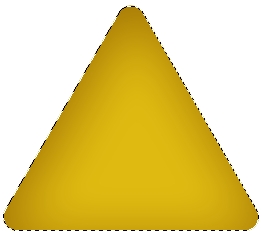
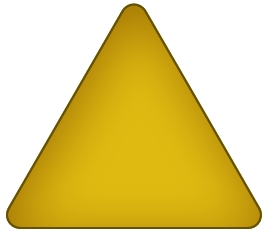
Make another layer above the previous one. Apple a stroke by going to “edit stroke,” the stroke width should be 2px.The color of the stroke should be #635205 and set the position to inside.
Hold Ctrl and click on the two layer to select them. After selecting them press Ctrl+E to merge them together. Create a new layer, Click on the Type Tool and Type an Exclamation (!) mark in the middle of the rectangle to get the effect below. I Used the Arial text type with #535351 as the color. With that you should have the image below.

Duplicate the layer with the text. Click on the original text layer. Go to filter and apply a Blur and click on Gaussian blur. Apply a Gaussian blur of 3.1. After applying the blur setting merge the two text layers together. Change the opacity of the layer to 80. With that you should have the effect below.

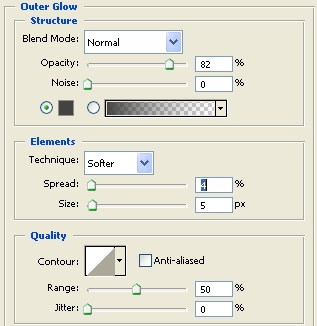
Merge the text layer and the rounded triangle layers together. Right click on the layer and move to blending options. And apply the setting shown below.
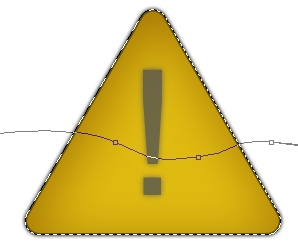
Ctrl click on the triangle layer once again and make another layer above it. Select the pen tool and select half of the triangle. Make sure that you are working on the layer above the triangle. When you draw out the selection as indicated by the pic.
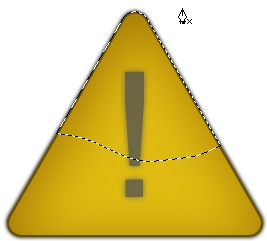
Right click with the pen tool and click Make Selection set the feather to 0. With that you should have the image below.
Click on the Gradient Tool and create the gradient below.

Apply a gradient going from the top to the bottom as shown below.
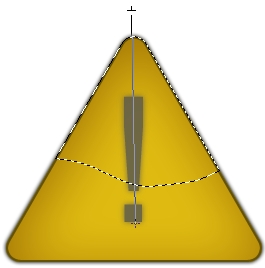
With that you should have something like the image.
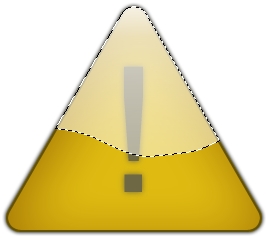
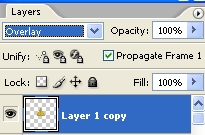
Change the layer opacity to 23. Merge the gradient layer and the rounded triangle layer together. Duplicate the triangle layer. You can hold ctrl and press J to duplicate the layer. Select the layer under the copy and apply a Gaussian blur of 2.3. Click on the copy layer and change the layer mode to overlay.
With that you should have the effect shown below.
