Introduction: In this tutorial, I will teach you how using Adobe Photoshop, you can create a reflection of an image. It’s a simple process that creates a realistic look.
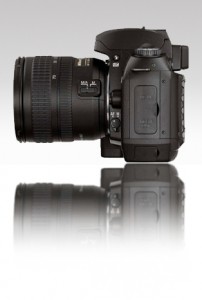
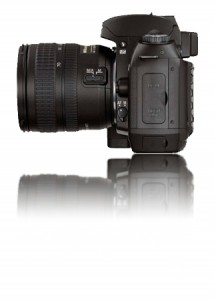
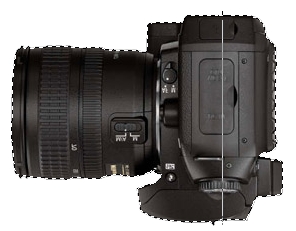
Step1: You can add this reflection to any text or image by just following the instruction. I just decided to use the Camera. First, find an image that you want to add the reflection effect to; click here to copy my Nikon Camera image. Open adobe and create a new image about 800 x 600 set the background color to white #FFFFFF. Now create a new layer (SHIFT + CTRL+N or click on Layer> New> Layer) and paste the image into Photoshop. Click on the Magic Wand Tool and click to select the white background around the camera, and press the delete key to delete it.
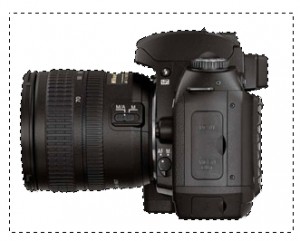
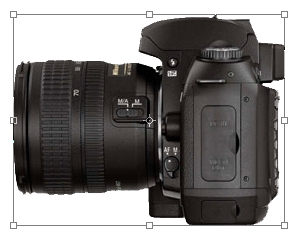
Step2: At this point all you should have is just your white background layer and the layer with the image of the camera. As shown below.
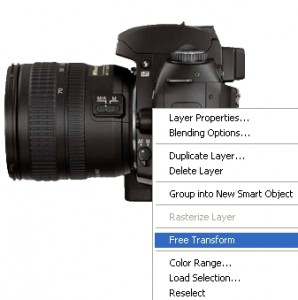
Still on the layer with the camera, press CTRL+J to duplicate the layer. Now on the second layer of the camera and click on the Chop Tool and right-click on the image of the camera, and select Free Transform as shown in the image below.
After applying the Free Transform option your image will look the screen shot below.
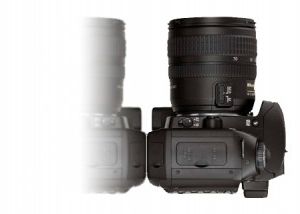
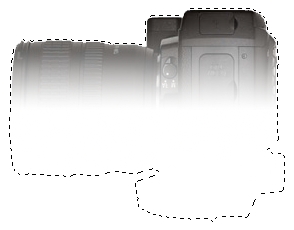
Now we need to flip the image and bring it down. Still, in the Free Transform option, you will see the taskbar option below. Change the H: to -100, and this should flip the image; use your mouse to drag it down after all that hit enter to accept the changes.

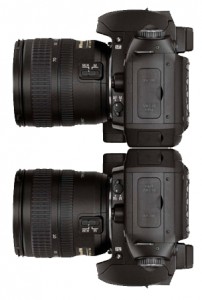
At this point your image should look like my picture below.
Step3: Need to create the gradient below, I case you have a different background color you can edit this gradient to match the color. Click here to download the gradient.

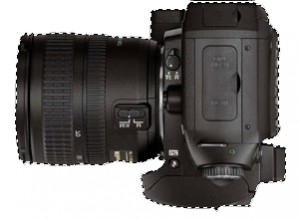
Hold CTRL and click on the layer with the flipped camera, this should select it. As shown in the image below.
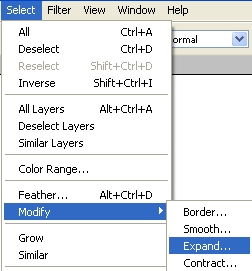
Click on Select Modify Expand and expand it by 2 pixel

with the camera still selected create a new layer (SHIFT + CTRL+N or click on Layer>New> Layer). Now click on the Gradient Tool its usually hiding behind the paint bucket and set the Gradient to Linear Gradient
Step4: Using the Gradient that you just download, we need to apply it to the new layer you just created.
Apply the gradient going from the top to the bottom, doing this while holding the shift key will give you a straight line.
If you followed the instruction your camera should look like the image above. Press CTRL+D to deselect your selection.
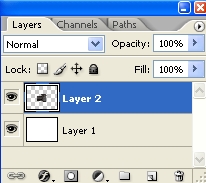
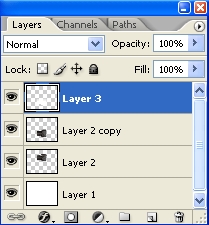
Step5: At this point, you should have 4 layers, as shown below. Layer 3 is the layer with the Gradient; Layer 2 copy is the layer with the flipped camera, and Layer 2 is the original image. Also, layer 1 is the background layer
And your image reflection should look like my image below at this point.
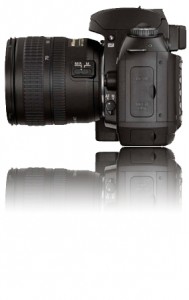
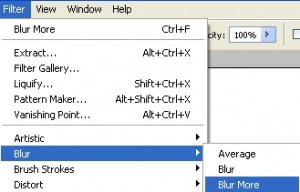
Click on the layer with your flipped image. We need to add a little blur effect to the image to give it a more realistic look. Now click on Filter> Blur >Blur More as shown in the image below.
Step6: That is it, hope it came out to what you expected.