Ever tried to convert a song in your music library into a ring tone? You get that message saying that you need to buy it. In this tutorial, I will show you a trick to get free ring tones without buying music or tones from iTunes. It’s very simple and you can do this for the 3G version as well. Follow this tutorial, if you have any questions feel free to email us.

Open Tunes, Click on your Library.

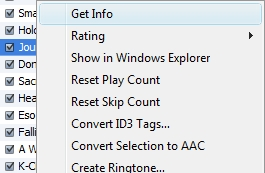
Right click on the file your what to be your Ring tone. Select Get Info.
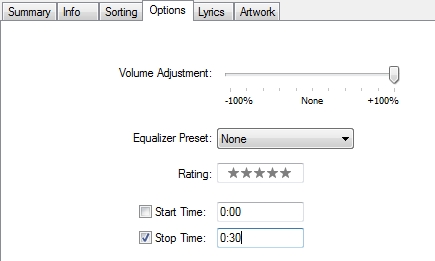
Select Option. Increase the volume to 100%
The ring tone has to be 30 seconds long. For the test. Leave the start time alone, and change the end time to 0:30. Click ok
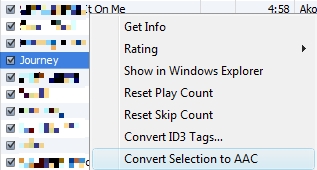
Right click on the song and click convert Selection to AAC
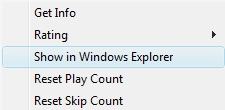
Right click on the 30 second version and select Show in Windows Explorer

The file that you open in Windows Explorer. The format will be m4a

Change the m4a format to m4r. So it would be yourmusicname.m4r. A message will popup about it being unstable, click ok when you see it. If you do not see the extension. Open My Documents, Select Tools, Folder Options. Select View, and uncheck “hide extensions for the known file type” after you change it.
Go back into tunes and remove the 0:30 second version from your library. Right click delete.
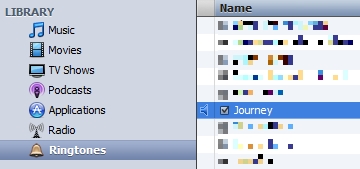
Windows explorer should still be open. Double click on the .m4r file and it should add the file to your Ring tone folder.

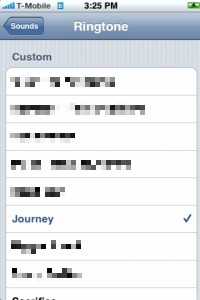
Now sync your library with your phone and the ring tone will be added.

Note: After you have created the ring tone, make sure you go back to the song and change the setting of the song length to the original. If you delete the 0:30, it will auto-fill in the full length.