Learn how to create an effect of an opened envelope.
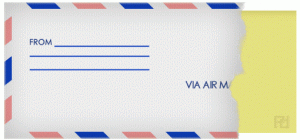
In this tutorial, I will teach you how to create an open envelope. I created this effect using shapes and some blending options. The ripped open effect was created using brushes.

Step1: Setting up the workspace.
Create a new image using the dimension 800 x 600. Set the background color to #d3d1ba. Since the envelope is white, just temporary, we will set the background color to a light gray and change it back when we add some texture to the envelope. Create a new layer, Layer>New> Layer… (Shift+Ctrl+N).
Step2: Creating the Envelope.
Click on the Rectangle Tool and create the image shown below.
Create a new layer, Layer> New> Layer… (Shift+Ctrl+N).
Click on the Rectangle Tool and create the small rectangle shown below using this color #0c38aa.

Using the Polygonal Lasso Tool while holding shift, create the selection shown below.
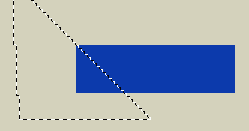
Cut this selection out and do the same for the other end to get the effect shown below.

Position this as shown below.
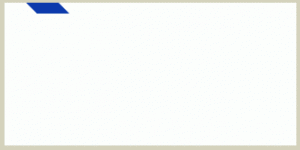
Duplicate this layer (Ctrl+J) so you will have two of the shapes shown.
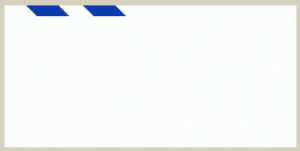
We will need to change the color of this new shape to a light red. Right-click on the duplicated layer, click Blending Options and apply the setting shown below.

With that you should have the effect below.
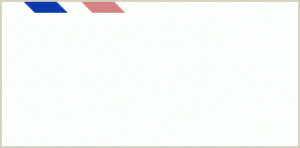
Duplicate these layers to get the effect shown below.
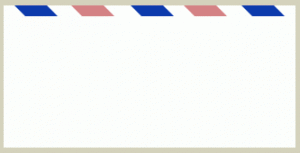
Repeat this for the bottom, just alternate the colors.
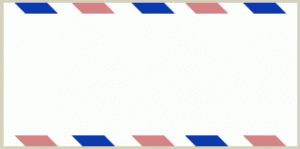
The same way we created the shapes for the top, repeat this for the sides. With that you would get the effect below.
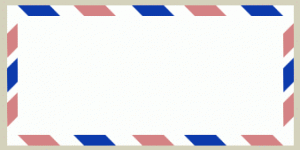
Step3: Adding Blending Option.
You will need to Merge (Ctrl+E) all the layers, hold Shift, and click on the First and Last layers, not including the Background layer, and press Ctrl +E. Now with two Layers right click on the first layer, click Blending Options, and apply the settings shown below.
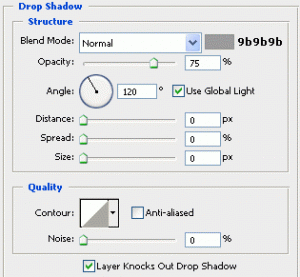
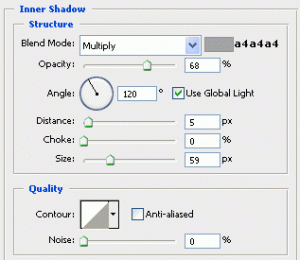
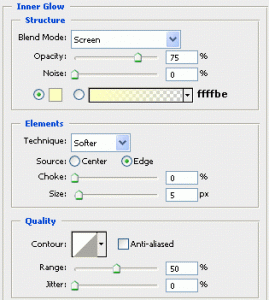
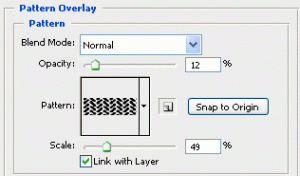
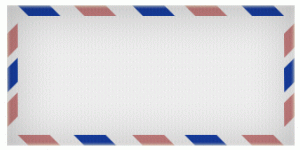
Click ok to apply the settings. You can also change the background back to white. With that, you will have the effect below.
Step4: Adding Text.
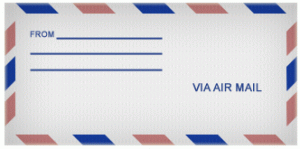
Click on the Type tool, using #2c478a as the color type the information shown below. I use Arial as the font type. Using the Line Tool, while holding shift draw three lines using the same color as the text to get the effect below.
Step5: Creating the ripped effect.
First, merge all the layers except the background layer. This is the same procedure I used to create the ripped paper, so if you have these brushes no need to download it again. Click ripped1 and download this brush set. I included two brushes, ripped1 and ripped2. Install them into Photoshop. Click on the Erase Tool; when you do that on the taskbar’s upper right-hand side, you will see this icon; click on it, and it will bring up the window below.
Click on select the ripped1 brush. When you do that the, Shape Dynamics, Dual Brush,Airbrush, and Smoothing should be selected. Click on Dual Brush and add the setting shown below.
Make sure you select the ripped2 brush in the Dual Brush option. Go to the rectangle you created, using the Erase Tool start erasing the edges of your image until you are satisfied. Below is what I came up with.
Step6: Creating the letter inside the envelope.
Create a new layer, Layer> New> Layer… (Shift+Ctrl+N). Make sure this layer is behind the envelope layer. I created a yellow paper using this color #e7e180, Using the Rectangle Tool create the effect of the paper shown below.
Finished:
Well, that is it, hope it came out to what you expected.


