Create the NFL Logo

Learn how to create the NFL logo. I created this using shapes and some effect with the chop tool. If you are having problems feel free to e-mail us,


Step1: Click nfl to download the shape and brush set I used to create the logo. Now create a new image 800 x 600, and set the background color to white. Create a new layer by pressing (SHIFT+CTRL+N) or click on Layer> New > Layer… Use the shape that you downloaded to create the shield, change the color to #00549b. It should look like my image below.

Now hold CTRL and click on the shield layer to select it. When it is selected it should look like the image below.

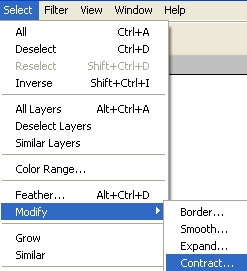
Click on Select> Modify> Contact and change the contact to 8 pixels.

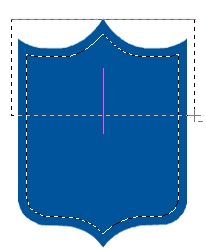
Now click on the Rectangular Marquee Tool to make sure the Subtract From selection is selected. With the shield still selected, subtract the selection until your image looks like mine below.
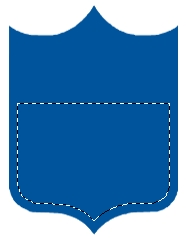
Step2: With your selection still selected, create a new layer, Layer> New > Layer… Click on the Paint Bucket and fill the selection with white #FFFFFF. At this point, your image should look like the screenshot below.

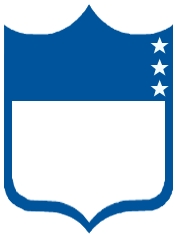
Please create a new layer; we need to add the stars. Click on the Brush Tool and select the Star brush to make sure the dimension is set to 19 pixels. Change the color to white and start adding the stars. Create three stars on different layers, as shown below. To make it a little simple after creating the three stars, as shown in my example, highlight the star’s layers and press CTRL+E to merge the layers. Now duplicate (CTRL+J) that layer to add more stars. When you are satisfied with the stars and their positions, merge them all into one layer.
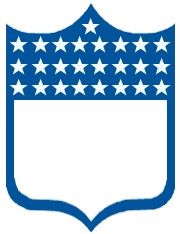
Step3: Now, we will add the Football in the middle of the stars. Create a new layer by pressing (SHIFT+CTRL+N) or click on Layer> New > Layer… Using the brushes you downloaded at the beginning. Click on the brush below, and set the dimension to 61 pixels.

When you add the ball it will be a little transparent, as shown in the image below.
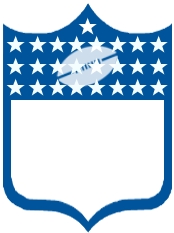
Hold ctrl and click on the Layer with the ball to select it; using the paint bucket fill the selection with white #FFFFFF. Your image should look like the example below.
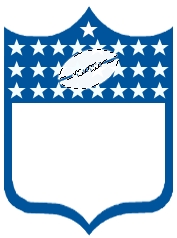
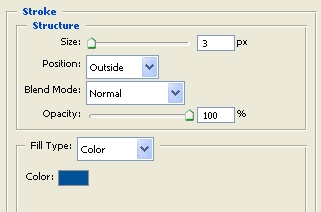
We need to add a Stroke to the ball, right click on the ball layer and click Blending Options and add the setting below.
Step4: You should still see the stars showing up behind the ball. We need to fix this. Hold CTRL and click on the ball layer to select it, as shown below.
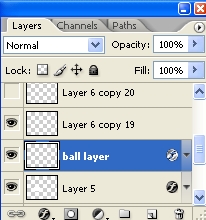

With the selection still selected click on the layer with the stars, all the stars should be on one layer and press Delete.
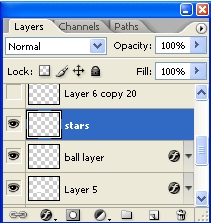
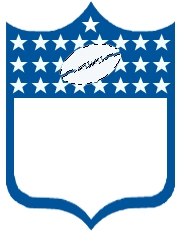
At this point your image should look like the example below I hope.
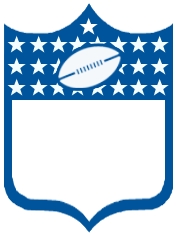

Now to add the text which I provided to you in the download. Create a new layer, click on the Brush tool, change the brush color to #db2228, and place the text, so your image looks like the example below.

