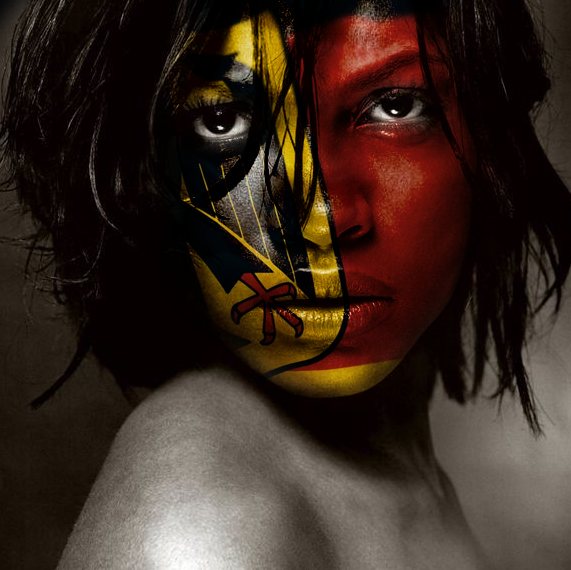
In this tutorial i will teach you how to place your countries flag over your face using Adobe Photoshop. This is a simple process that any beginner can follow. Follow that tutorial and learn how to recreate this effect.

First import your image into Photoshop. For this tutorial you can click and copy the images below.


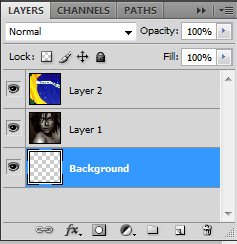
Copy the images into Photoshop, with the flag above the image as shown below.
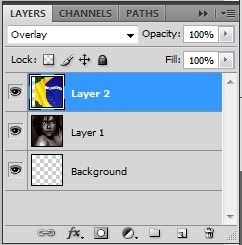
Now, select the Layer with the flag and change the blending mode to Overlay.
In doing that you will get the effect below.

From here you can Adjust the placement of the flag.

Once you are satisfied click on the Erase tool and start erasing around the face to get the effect below. Don’t forget to do the eyes, teeth and anything that should not be panted to get a more realistic look.