Introduction: In this tutorial, I will teach you how to give your images the effect of them being stitched together. I used a Leather texture I found on the web, I added some blending options to the tether to make it pop out a little. Then I added the stitches. You don’t have to use the leather texture, use the web and find whatever texture and apply the setting.

Part1: Setting up the workspace and creating the backboard.
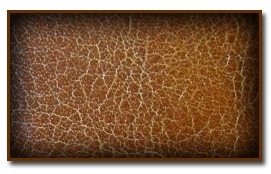
Ok, let us get started. Create a new image using the dimension 800 x 600. Set the background color to white. You can change the background depending on your website’s color. Create a new layer, Layer> New> Layer… (Shift+Ctrl+N). Name the layer “Leather”. Copy and paste your texture into adobe Photoshop.
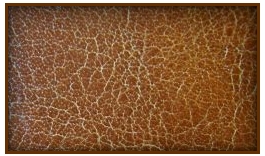
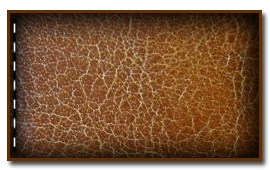
With that, you should have the effect below.
Right click on the Leather layer and click Blending Options. Now add the Blending Options setting below.
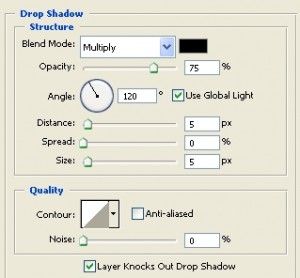
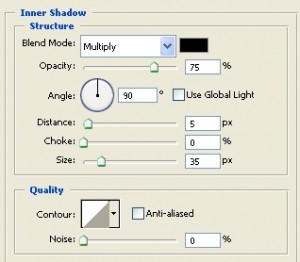
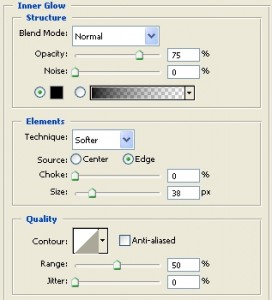
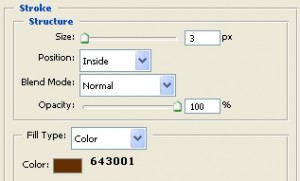
Click ok to apply the settings. With that you should have the image below.
Part2: Applying the stitching.
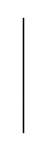
For the next step, you can use either the Brush set to 2 pixels or the line tool at the same size. I used the Brush Tool, using black as the color. Create a new layer, Layer> New>Layer… (Shift+Ctrl+N). Name the layer “Stitch1”. Hold the shift key and draw a vertical line as shown below. You will need to download this pattern, stitch to download it.
Right click on the stitch1 layer and click Blending Options. Now add the Blending Options setting below.
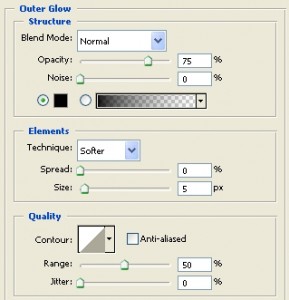
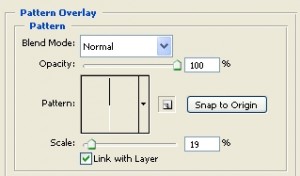
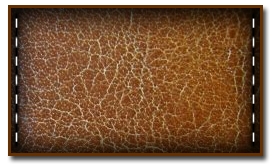
Click ok to apply the settings. With that you should have the image below.
In the brush set you previously downloaded, it came with two brushes. One is vertical and the other is horizontal. That is for the different sides of the rectangle. From this point, it should be simple, Duplicate the Stitch1 layer you just created and move it over to the right.
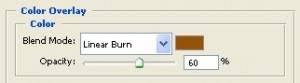
If you want to change the color of the thread to match the material, go back into Blending Options and add the color overlay setting.
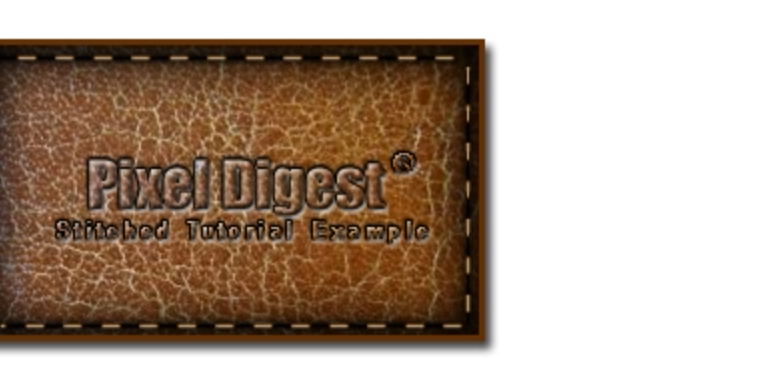
That is it.
Finished:
Well that is it. Hope it is what you expected