In this tutorial, I will teach you how to use Dreamweaver wizard to delete information stored in a database. This process does not actually delete the information from the database. It hides it using filters. This is useful in case you what to re-add the information. If you are having problems feel free to e-mail us
Part 1: What do I need to setup a server on my computer?
For this to work you will need to have the software below installed.
- Dreamweaver 8, this is what I used in the tutorial. I am not sure if you can do this on the previous versions.
- Windows XP Professional
- (IIS) Internet Information Services has to be installed.
Part2: Follow there previous tutorial
For this tutorial to work you will need to set up Dreamweaver and your computer to run ASP.NET pages. I covered how to do this in a previous tutorial, you can read up on this below. Most of these tutorials also include video examples.
- Installing IIS for Dreamweaver
- Working with ASP.NET database
- Add Information
- ASP.NET Edit
- ASP.NET Search Form
Part3: Lets get Started.
At this point I will take it that you have IIS setup and you are able to access a database from Dreamweaver.
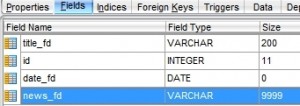
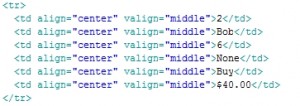
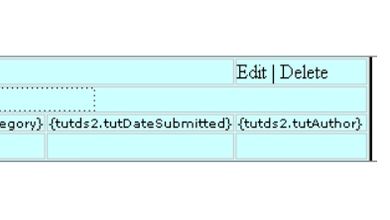
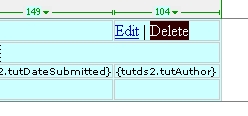
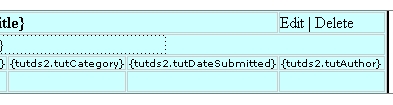
Ok, let us get started. Download this database tutdb2 and place it into your database folder. The download includes the image, database, and default.aspx file. The default.aspx file is already setup to display all the information stored in the database. We will need to edit it a little but it’s no problem. Open the default.aspx file in Dreamweaver, modify the table, and add the two text (Edit | Delete) shown below.

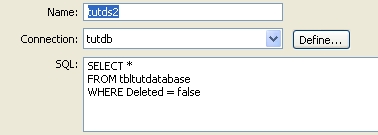
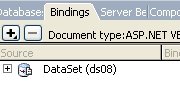
Click File New… and click on Dynamic Page ASP.NET VB and click Create. Hit Ctrl+Sand save your site as delete.aspx. Click on Bindings in the Application window and create the dataset shown below, your dataset name can be different.
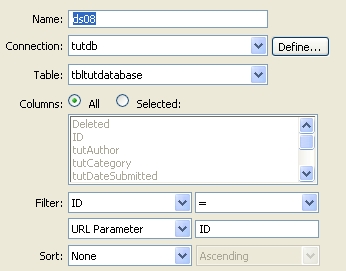
with that click ok.
Next Click, Insert Application Objects update Record Record update form wizard. with that you should see the window below.
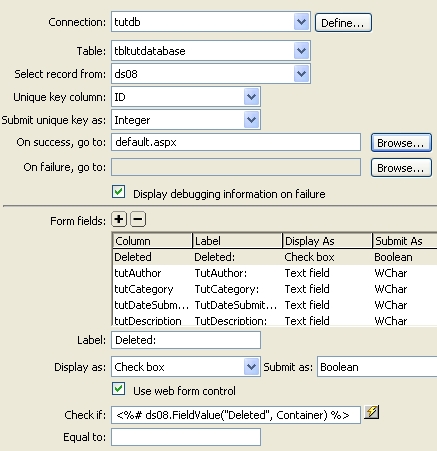
Fill in the information according to the image above. referring to the form wizard above, click on ID and remove if from the table using the minus (-) sign. After that press ok. When you press ok, dreamweaver should have created the form shown below.
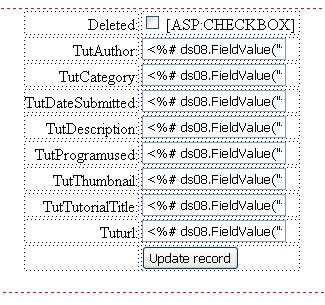
Click on the [ASP:CHECKBOX] text on the form, and switch your view to code view. When you do that you should see the code shown below.
<asp:checkbox id=”Deleted” runat=”server” checked='<%# IIf((ds08.FieldValue(“Deleted”, Container) = “”), true, false) %>’ />
See where it says Container) = “”) replace the “” with true. So your new code will look like this:
<asp:checkbox id=”Deleted” runat=”server” checked='<%# IIf((ds08.FieldValue(“Deleted”, Container) = true), true, false) %>’ />
Save your page.
Click back over to the default.aspx page, double click on Delete.
With Delete Highlighted, click on the yellow folder shown below.

After clicking on the yellow folder it will bring up the select file window, from there click onparameter, with that you will see the window below
In the Name field Type in id, in the value window click on the lightning bolt and select ID as shown below.

After that click ok, two time. You should be at the window below.
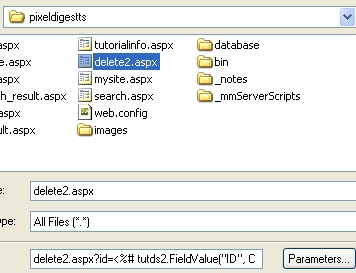
Make sure you select the delete.aspx page you previously created and click ok. The delete works by using a filter, since you are not actually deleting the information you are just hiding it from your users. Its recommended not to delete information stored in a database you never know when you may need it back in the future. Click on the default.aspx page, double click on the Dataset name.
With that you should see the window below.
Click on Advanced, in the SQL window place this code.
SELECT *
FROM tbltutdatabase
WHERE Deleted = false
as shown below.
Now Press F+12 to preview the default.aspx page.
Finished:
Well, that is it, hope it came out to what you expected.