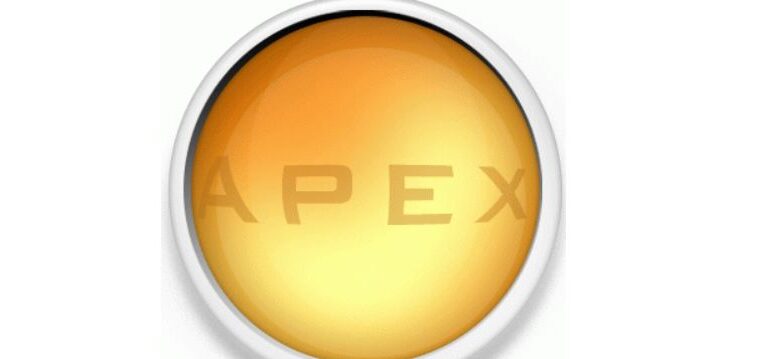
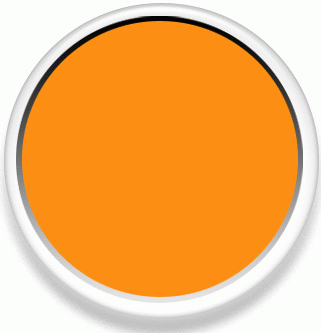
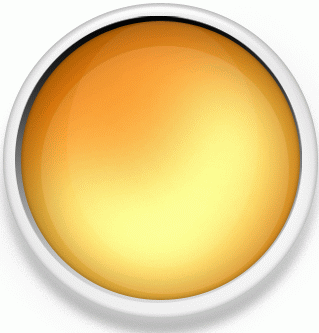
Using this tutorial, you will learn how to recreate this amazing looking orb.

Step1:
First open up adobe and make your width and height 800 by 800. After you finish, click on “view” and select “view actual pixels.”
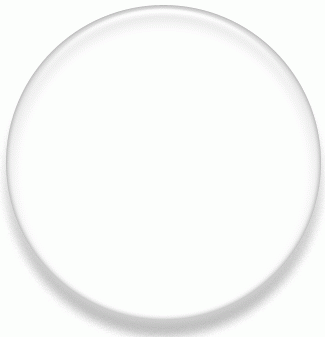
Step2: Now select the “ellipse tool ” and make a circle.
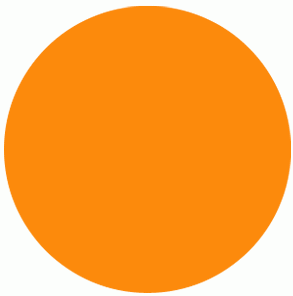
It doesn’t matter what color it is because the blending options will actually change the color.
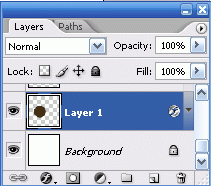
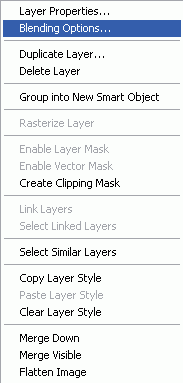
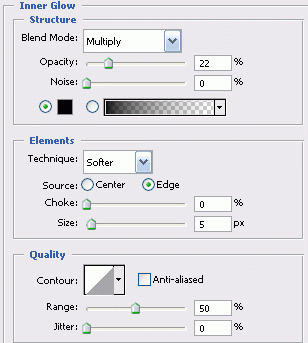
Step 3: Go to “blending options.” You can do that by right clicking the blue part of your layer and moving to “blending options.”
Step 4: Apply these blending options to the “ellipse tool.”
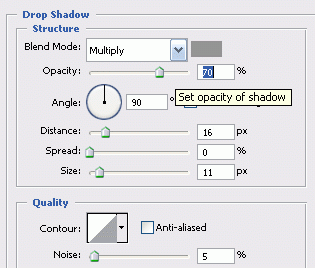


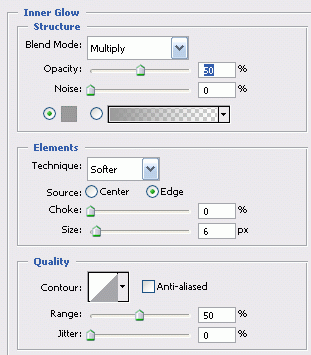
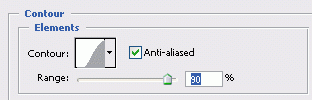
When you are finished you image should match up to the one i made.
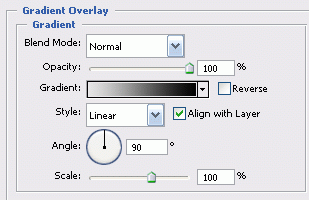
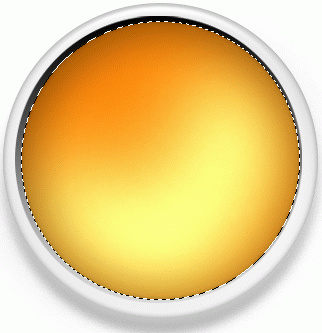
Step 4: Now on a new layer add another circle in the middle of the previous image. Once again go to “blending options.”
When you do this apply a “gradient overlay” on this layer.
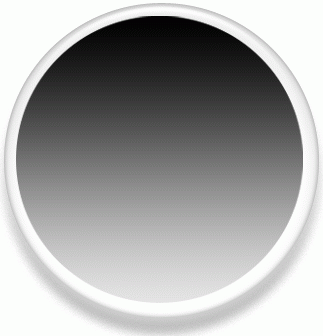
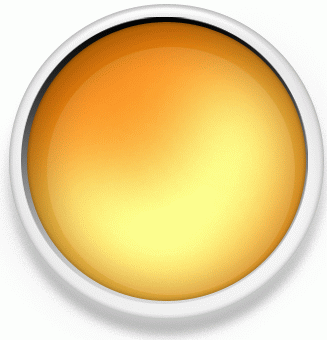
Your new image should look like this
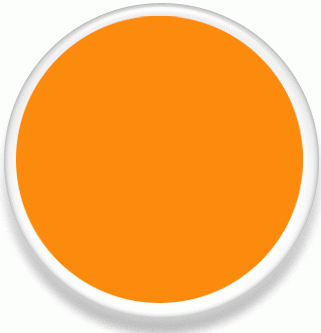
Step 5: Now make a new layer and add a smaller circle than the one you just created. You should pick #fe8f11 as the color.
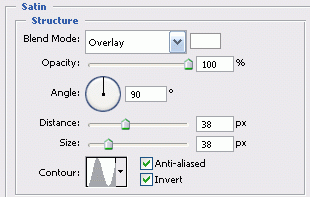
step 6: apply these blending options to the orange layer.

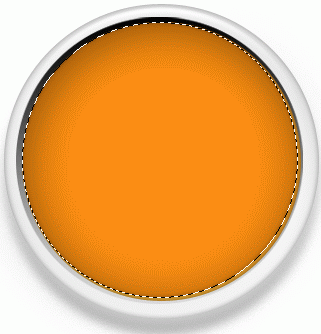
Step 7: After that is finished, hold ctrl and click on the gray and white checkered section of your layer to select the orange circle.
Step 8: now select the “brush tool” . You can use my settings for the glow but feel free to experiment to come up with something better.

With the orange layer still selected brush the lower right hand corner in a rough crescent shape. You should pick #fe8f11 as your brush color.
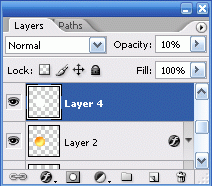
Step 9: make a new layer and pick #ffffff as your color. Make another circle and set the layer opacity to 10
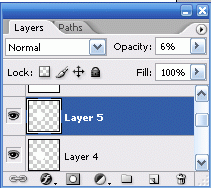
step 10: make another layer and place an ellipse in it. Now with the ellipse layer selected change the “opacity” to 6.
step 11:
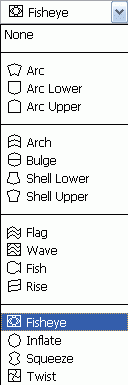
Now, you will probably want to add text into the orb. Pick #ad6816 as your text color and “Bank Gothic Md BT” as your text. My text size is 100 but you will need to adjust yours depending on the size of your orb . After you select the text go to the “create warp text” icon .

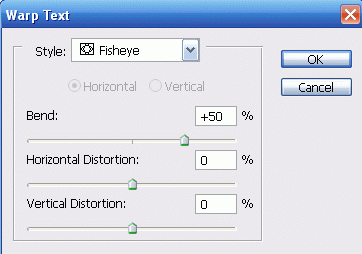
Move to the “fisheye” setting and set your settings to match my settings.

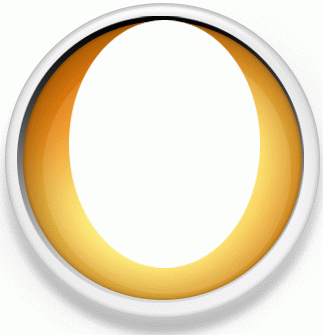
It should look like this but if the text is out of place, use the “the crop tool” to make it a little smaller so that it fits in the orange area.
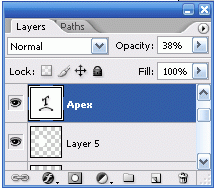
Now on the layer that you placed the text on, set the opacity to 38. Now add some more text and you are finish.


